How to renew and maintain
your existing deck
It’s that time of year again – the time when you need to attack the barbecue with a jackhammer, airlift tons of Roundup to deal with the weeds that have taken over the garden, and worst of all, clean and renew the look of the deck.
There are four steps to successful deck renewal:
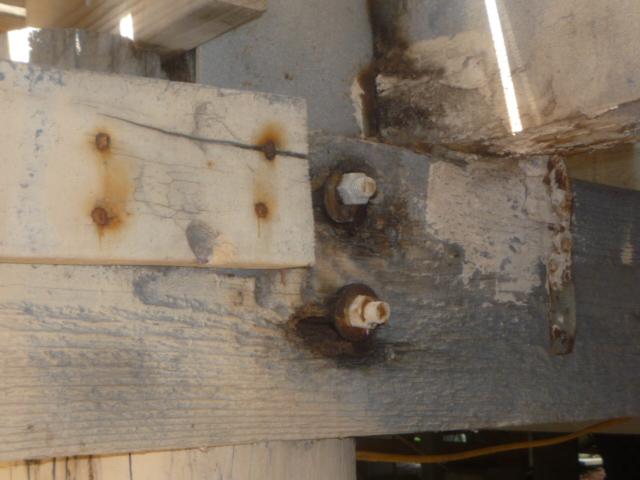
Step 1: Inspect the deck
• Before you do anything else, go over the deck from top to bottom to check for rot, mould and any cracked, broken or loose timber.
• Conduct a "water test" on the surface of the deck – if the drops of water bead up and the decktread hasn’t become cracked or discoloured, you’re in luck, your deck probably doesn’t need a lot of surface treatment.
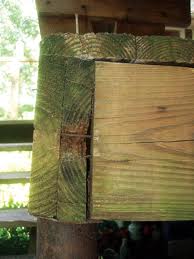
Step 2: Make repairs
• Too many homeowners get straight into cleaning, not realising that any rot or cracked timber will only get worse if left untreated and will end up costing far more than if you catch it in the early stages.
• If the rot is less than 1 cm deep, the board can probably be left in place, but more extensive damage calls for replacement – just call Fix It and we will sort them out for you.
• Nails or boards are popping up or coming loose? Don’t just attempt to pound them down again – call us and we’ll remove the old nails and replace them with longer nails, special decking nails, or decking screws.
Step 3: Ensure against future rot
• If any part of your deck stays wet for longer than other parts, or has mould on it, check to make sure that it can dry out.
• Ideally boards should be placed at a slight angle to promote faster drying.
• Use a leaf blower or a broom to sweep away leaves and dirt from between boards, or where the deck meets the house. Perhaps a bush or tree limb needs to be trimmed back, or a downpipe moved to direct water away from the deck.
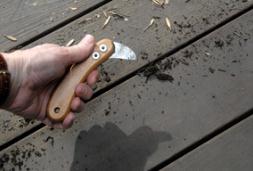
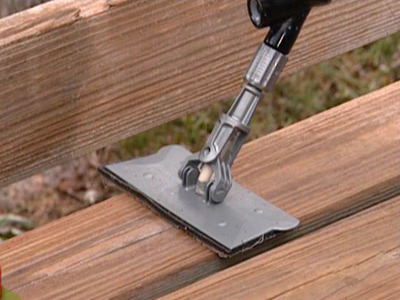
• Get stuck in to any debris that can’t be blown or brushed away with a putty knife or a plastic laminate scoring tool like this one.
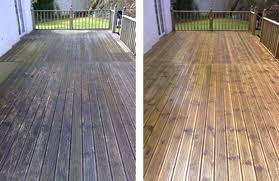 Step 4: Clean the deck
• Mildew can cause decks to become discoloured and patchy, but it usually looks worse than it is and can be removed by the application of a commercial deck cleaner or TSP heavy-duty cleaner, followed by a good rinsing and brushing with a stiff-bristled broom or, for larger decks, a water blaster.
• If you’re using a water blaster, take care not to gouge into the timber, especially if it’s pine or one of the other softwoods.
• Don’t forget to clean underneath the deck too if you can get access.
 Step 5: Seal and finish the deck
• If your deck was stained or oiled within the last 2 – 3 years, it probably won’t need re-finishing unless it has been subject to strong sunlight or heavy traffic.
• Consult with the paint department experts at Bunnings or another supplier to select the finish best suited to your deck.
• After cleaning, allow the deck to dry thoroughly before sealing it but don't wait too long – don’t give it time to get dirty again.
A note on kwila decks:
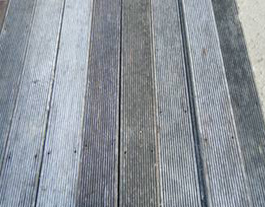
We know kwila is supposed to turn grey, but some become very patchy after 15-odd years and probably should be replaced – however, you can successfully restore it almost to its former glory by sanding it back with a big orbital floor sander and then applying a kwila-coloured stain.
Related articles:
Decks - things to know before building
Click this button or ring 0800 CAN FIX any time of the day or night to make an appointment or request a free quote - we are happy to help!


